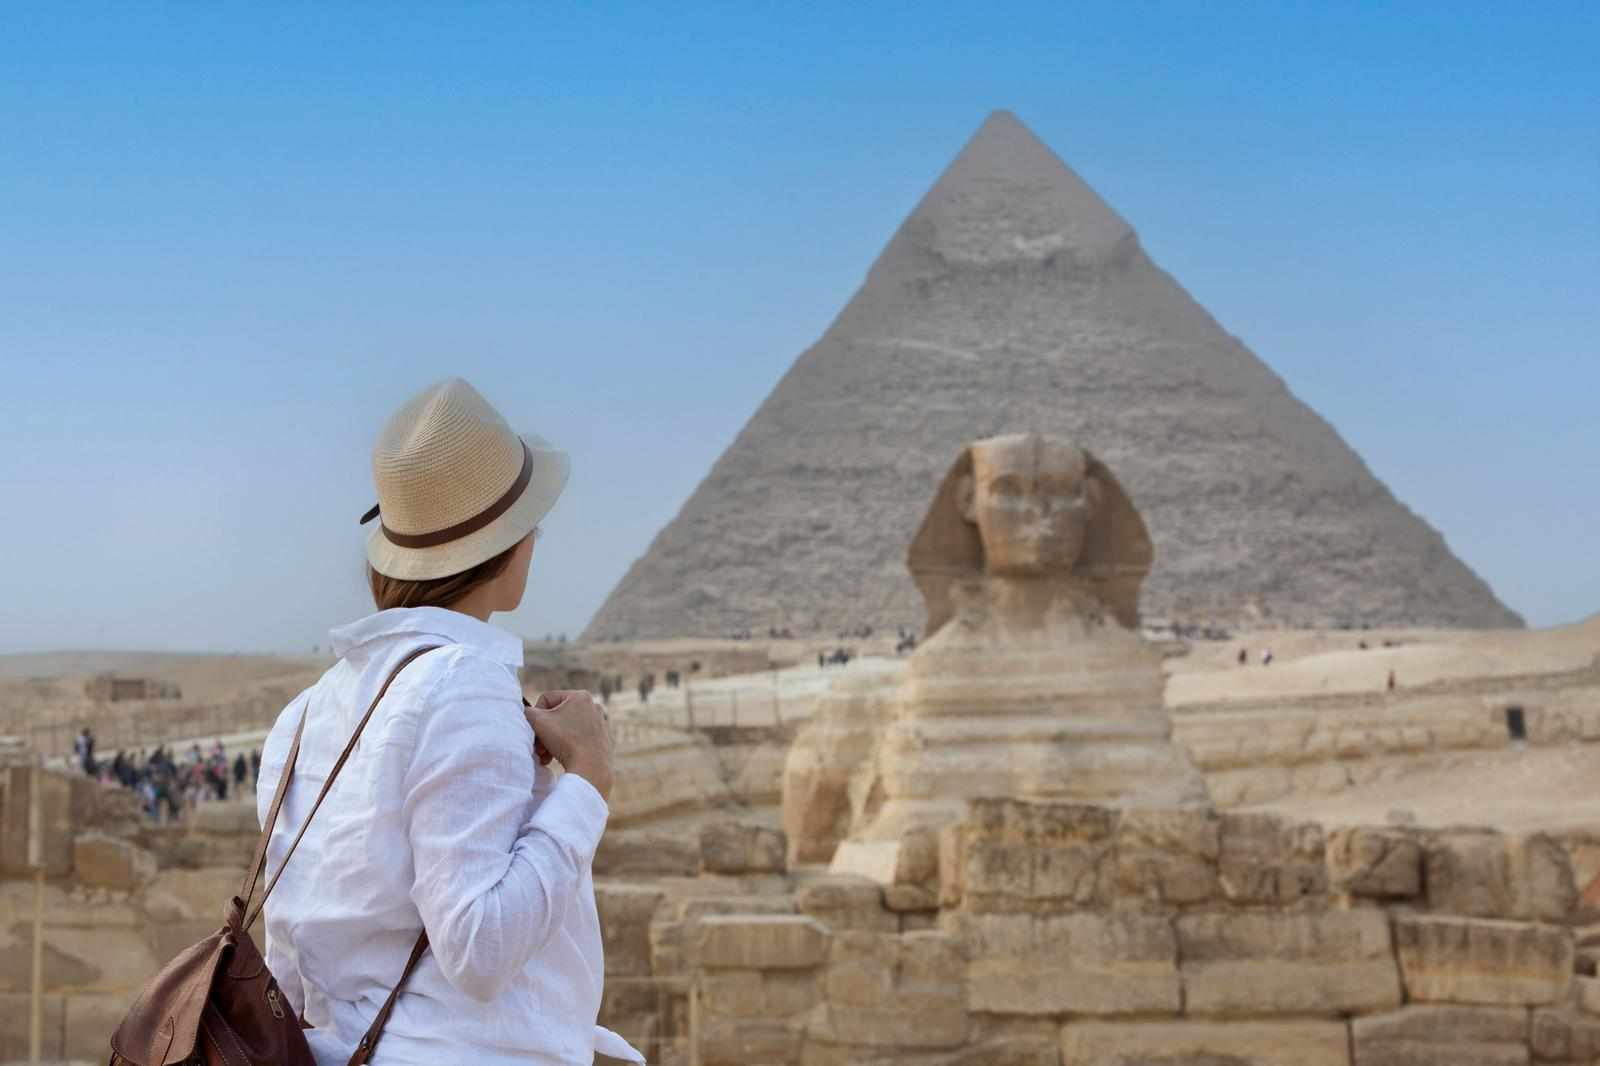
For many travellers, Egypt is more than just a destination—it’s a journey into history, culture, and timeless splendour.
From the golden sands of the Sahara to the ancient temples along the Nile, the country beckons with its timeless beauty and rich history, welcoming millions of visitors each year.

However, before stepping into the wondrous world of pharaohs and pyramids, first-time visitors must complete a crucial step: securing an Online Egypt eVisa. This key is not just a formality; it's the gateway to the ancient land of Egypt, unlocking its wonders and mysteries.
The process may sound technical, but rest assured, it's designed to be straightforward. This step-by-step guide has been crafted with new travellers in mind, walking you through each stage of the application clearly and simply, with the proper amount of preparation.
Check Your Eligibility
First and foremost, ensure that your nationality is eligible for the Egypt eVisa and only then apply..
If your country is not listed, you’ll need to apply at a nearby Egyptian embassy or consulate instead.
Prepare the Required Documents
Before starting the application, make sure you have the following Egypt eVisa Requirements:

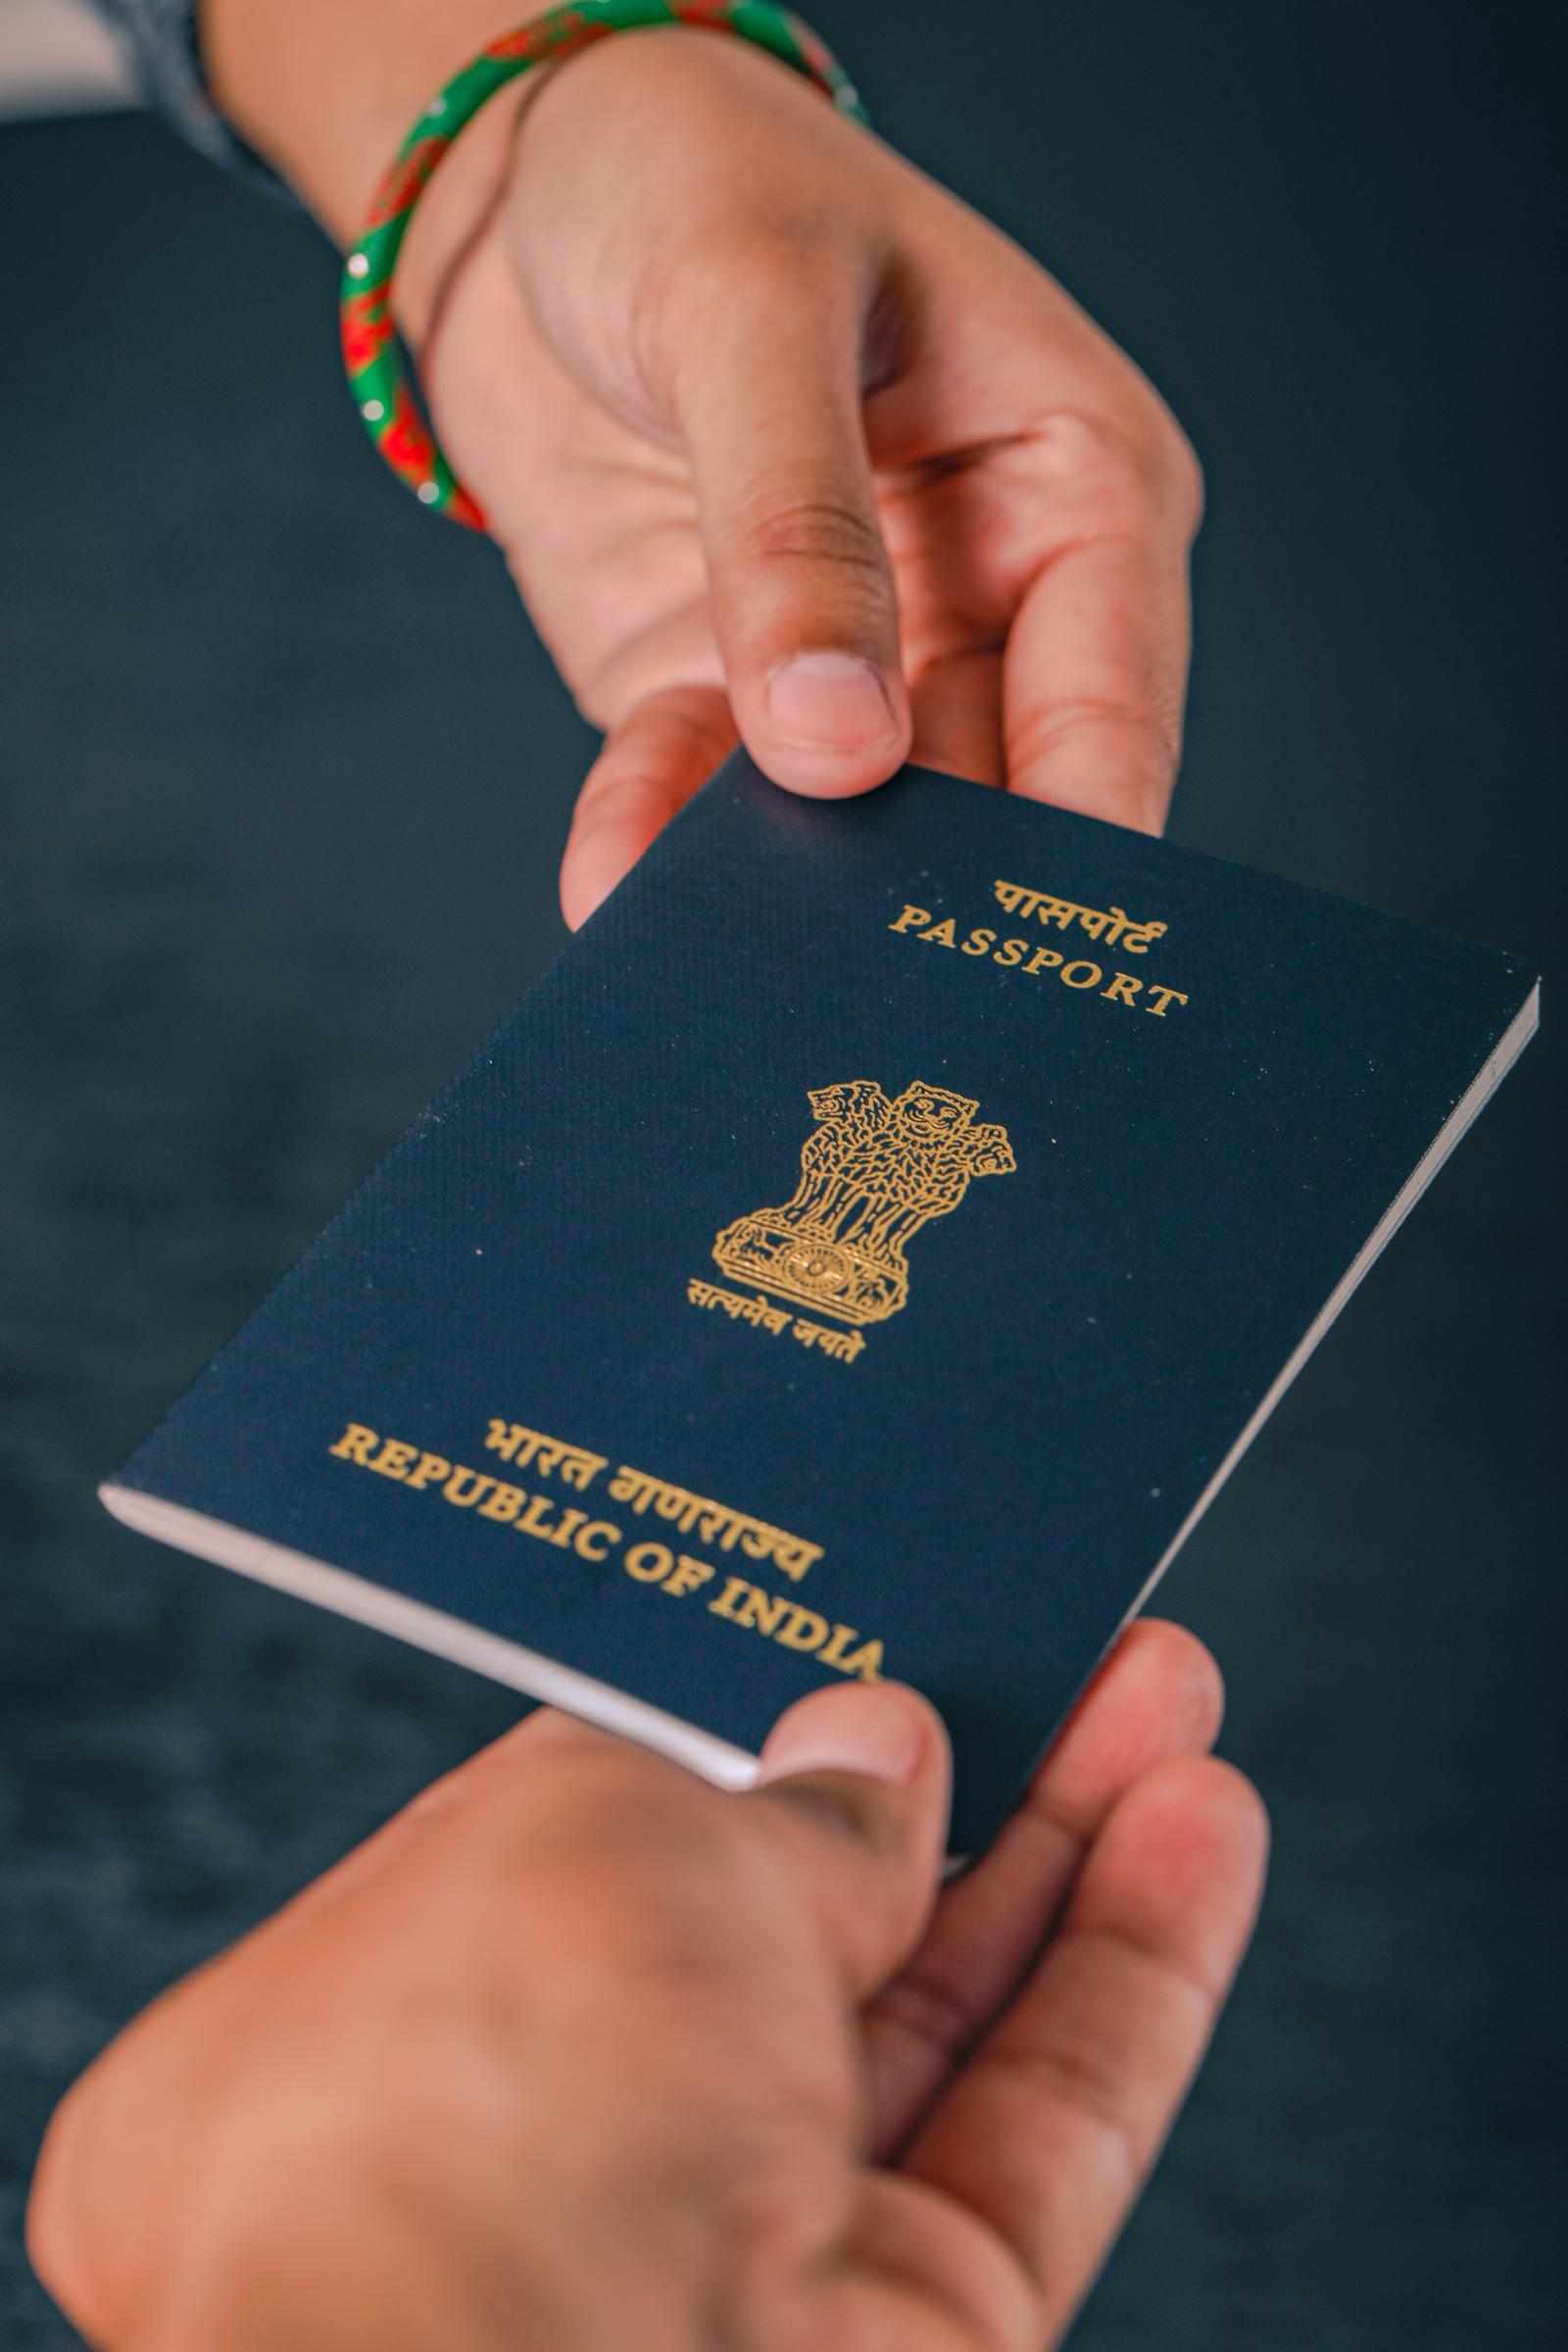
A passport valid for at least 6 months from your entry date.
A scanned copy of your passport bio page (clear and readable).
A recent passport-size photo (white background recommended).
A credit/debit card or PayPal for online payment.
(Optional) Proof of accommodation or travel itinerary – sometimes requested.
Choose the Type of eVisa
Single-Entry eVisa
Standard validity of a Single-Entry eVisa is 90 days from the issue date, with up to 30 days stay per entry.
Multiple-Entry eVisa
Allows multiple entries within the visa validity period.
Complete the Application Form

Enter your personal details (which include your name, DOB, nationality, and gender).
Fill in your passport information (number, issue date, and expiry date).
Add your overall travel details (arrival date, departure date, purpose of visit).
Double-check everything—mistakes may cause rejection.
Upload Your Documents
Upload the scanned passport page and passport photo.
Ensure files are in JPG/PNG/PDF format and meet size/clarity requirements.
Pay the Visa Fee
Pay securely with your credit/debit card, or via PayPal.
Fees often depend on the type of visa being used (single-entry vs. multiple-entry).
Wait for Processing
Standard processing usually takes 3–7 business days, though sometimes faster.
Throughout the process, you’ll receive email notifications about your application status. These will keep you informed about any updates or additional steps you may need to take.
Download and Print Your eVisa

Once approved, the eVisa is sent to your email.
Once approved, the eVisa is sent to your email. It's a good idea to print a copy and keep a digital version on your phone as a backup. This way, you'll have it readily available in case of any unforeseen circumstances.
Arrival in Egypt
Present your printed eVisa and passport to immigration officials.
Carry proof of accommodation and onward/return ticket (sometimes requested).
It's crucial to ensure that the details on your passport and eVisa match exactly. Any discrepancies could lead to delays or even denial of entry, so double-check this before your trip.
Quick Tips for First-Time Applicants to ensure the process goes as planned
Apply at least 2–3 weeks before your trip.
Make sure your passport isn’t damaged.
If travelling with family, remember each member (including children) needs a separate eVisa.
Keep extra copies of your eVisa in case you misplace one.


Write a comment ...